
Is your garage floor looking dull, stained, and worn-out? Imagine stepping into a clean, shiny, and professional-looking space every day. Sounds dreamy, right? The solution lies in garage floor epoxy kits, a cost-effective and simple way to bring your floors back to life while adding durability and style. Whether you’re transforming your garage into a workshop, storage unit, or just a sleek space to park your car, epoxy coatings can do wonders.
Below, we’ll break everything down for you—from what garage floor epoxy really is, to the steps for applying it, and why it’s a game-changer for your home.
What Is Garage Floor Epoxy?
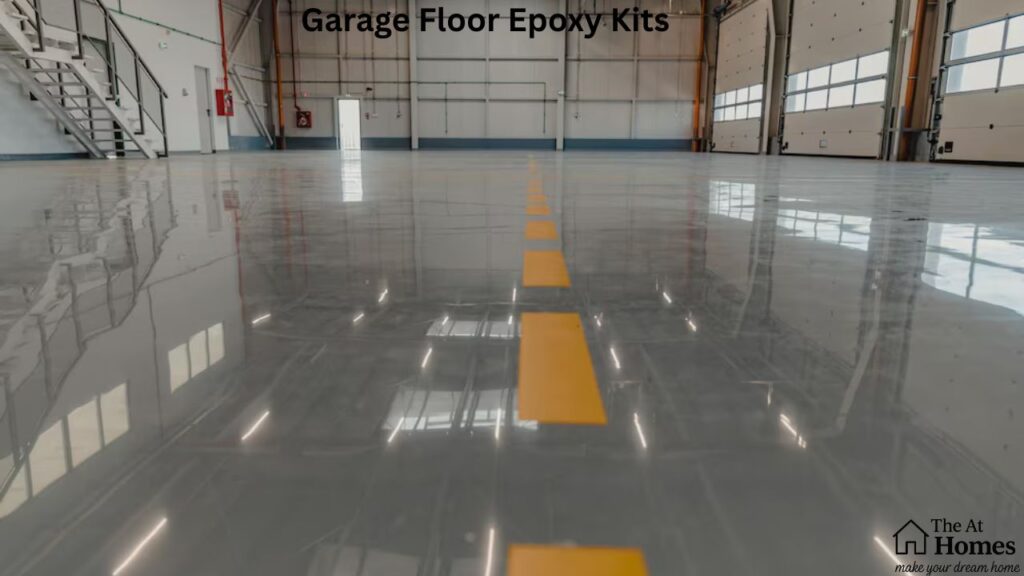
Think of epoxy as a superhero for your floors. It’s a blend of resin and hardener that, when mixed, forms a tough, protective layer on your concrete floor. This layer provides a high-gloss, seamless finish that’s resistant to stains, chemicals, and heavy wear.
But why settle for a dull concrete floor when you can upgrade to something that’s easy to clean, durable, and so much more attractive? Beyond aesthetics, epoxy acts as a moisture-resistant barrier, protects against cracks, and can even keep your floor safe from grease spills or oil stains.
Why Choose a DIY Garage Floor Epoxy Kit?
If you’re a person who loves weekend projects or saving money, DIY epoxy kits are your best friends. You skip the expense of hiring professionals, and most kits are specially designed to be user-friendly. They include everything you need to achieve that perfect floor finish, from a base coat to color flakes (for that speckled texture) and even instructions.
Here’s why picking up one of these kits makes sense:
- Cost-Effective Flooring Solution
You get a professional-level look at a fraction of the price. - Customizable Colors
Most kits come with options to add custom color flakes, giving your floors personality. - UV Resistance
High-quality epoxy flooring is designed to withstand sunlight, meaning no yellowing. - Epoxy Durability
Once cured, the floor can handle heavy cars, tools, and foot traffic without cracking. - Low Odor Formula
Nobody likes a smelly solution! Most modern formulas are low odor, so you can work without irritation.
Now that you’ve got the why, let’s move on to how you can actually make this happen!
How to Apply Garage Floor Epoxy Like a Pro
Don’t worry; applying garage floor epoxy is simpler than assembling furniture! Here’s a step-by-step guide to make it easy and fun:
Step 1. Surface Preparation
This is the most important step. Your floor must be clean, dry, and free from oil stains or cracks before applying the epoxy. Use a concrete repair kit to fix any flaws, then scrub the floor to remove dirt and grease.
Pro Tip: Roughen the floor with sandpaper or an industrial floor grinder to ensure the epoxy adheres properly.
Step 2. Choose Your Epoxy
There are several options available, from high solids epoxy to polyurea coatings. High solids epoxy is thicker and gives you that desirable high gloss finish, while polyurea is known for its quick curing times and added flexibility.
Step 3. Apply the Epoxy
- Start by mixing the resin and hardener as directed in your kit.
- Pour the mixture on the floor and use a roller to spread it evenly.
- Optionally sprinkle color flakes for a unique texture.
Quick Tip: Work quickly! Once mixed, the epoxy begins to harden, so don’t dilly-dally.
Step 4. Add a Topcoat
For enhanced floor protection and shine, apply a urethane coating on top after the epoxy cures. This adds an extra layer of defense against UV damage and everyday wear.
Step 5. Cure and Enjoy
Most epoxy floors need 24–48 hours to fully cure, but always check your kit’s instructions. Once dry, you’ll have a durable coating that’s easy to maintain and enjoy.
Benefits of Garage Floor Epoxy
By now, you might be thinking, “Sure, epoxy sounds nice, but what’s in it for me?” Here’s what you get when you upgrade to an epoxy-covered garage floor:
- Seamless Flooring: No seams = no dirt buildup. Cleaning is a breeze!
- Chemical Resistance: From oil spills to cleaning agents, it can handle all the messes.
- Moisture Control: Keeps dampness and moisture from seeping into the concrete, which is especially helpful during rainy seasons.
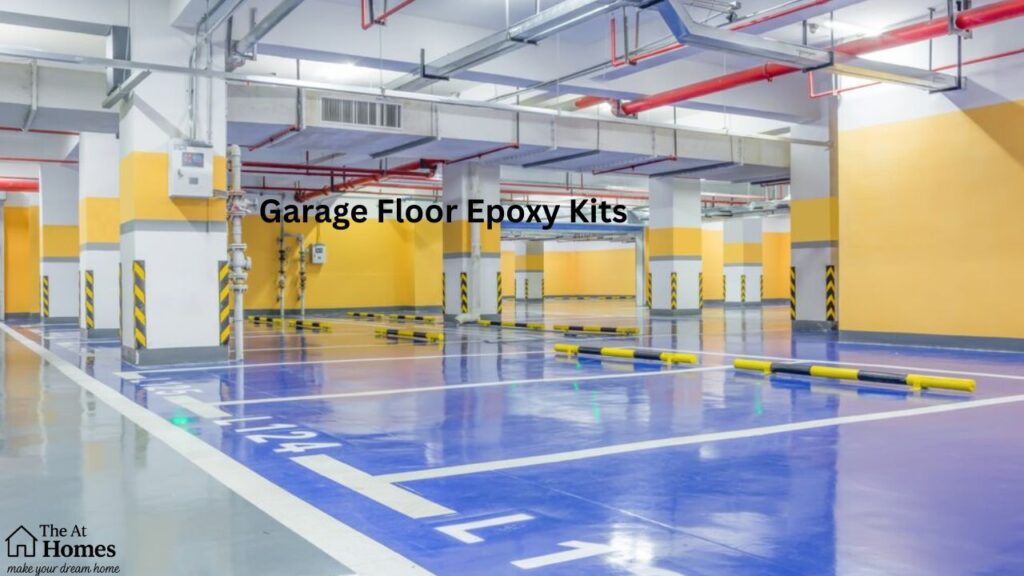
- Industrial Flooring Strength for everyday household needs.
- Style Boost: Available in various custom color options for a modern and professional look.
Common Questions About Garage Floor Epoxy
Still nervous about something? Here are answers to five of the most frequently asked questions.
Q1. Can I apply epoxy over an old floor with cracks?
Yes, but you’ll need to repair any damage first using a concrete repair product. The surface must be smooth and clean before the epoxy will stick properly.
Q2. How long does it take to apply the epoxy?
The process, including surface preparation and applying the coatings, can take 1–2 days, depending on the floor condition and drying times.
Q3. Is epoxy flooring resistant to heavy vehicles?
Absolutely! The epoxy durability ensures it can handle the weight of cars, trucks, and even boats with no problem.
Q4. Will epoxy make my garage floor slippery?
It depends. While the shiny surface can be slick when wet, you can add anti-slip additives during the application for a no-slip finish.
Q5. Are there maintenance requirements?
Not much! Occasionally sweep or mop the floor with mild soap. Avoid harsh cleaning agents to maintain the high gloss finish.
Wrap-Up
Whether your garage is a dusty storage unit or a workspace in need of TLC, giving it a makeover with a garage floor epoxy kit is an easy, affordable fix. With its ability to resist stains, provide a seamless look, and bring concrete back to life, this DIY solution is hard to beat.
With just a little elbow grease and a weekend to spare, you can transform your garage into a functional, stylish, and durable space that stands up to wear and tear. Give it a try, and you’ll thank yourself every time you step into your shiny, like-new garage.
